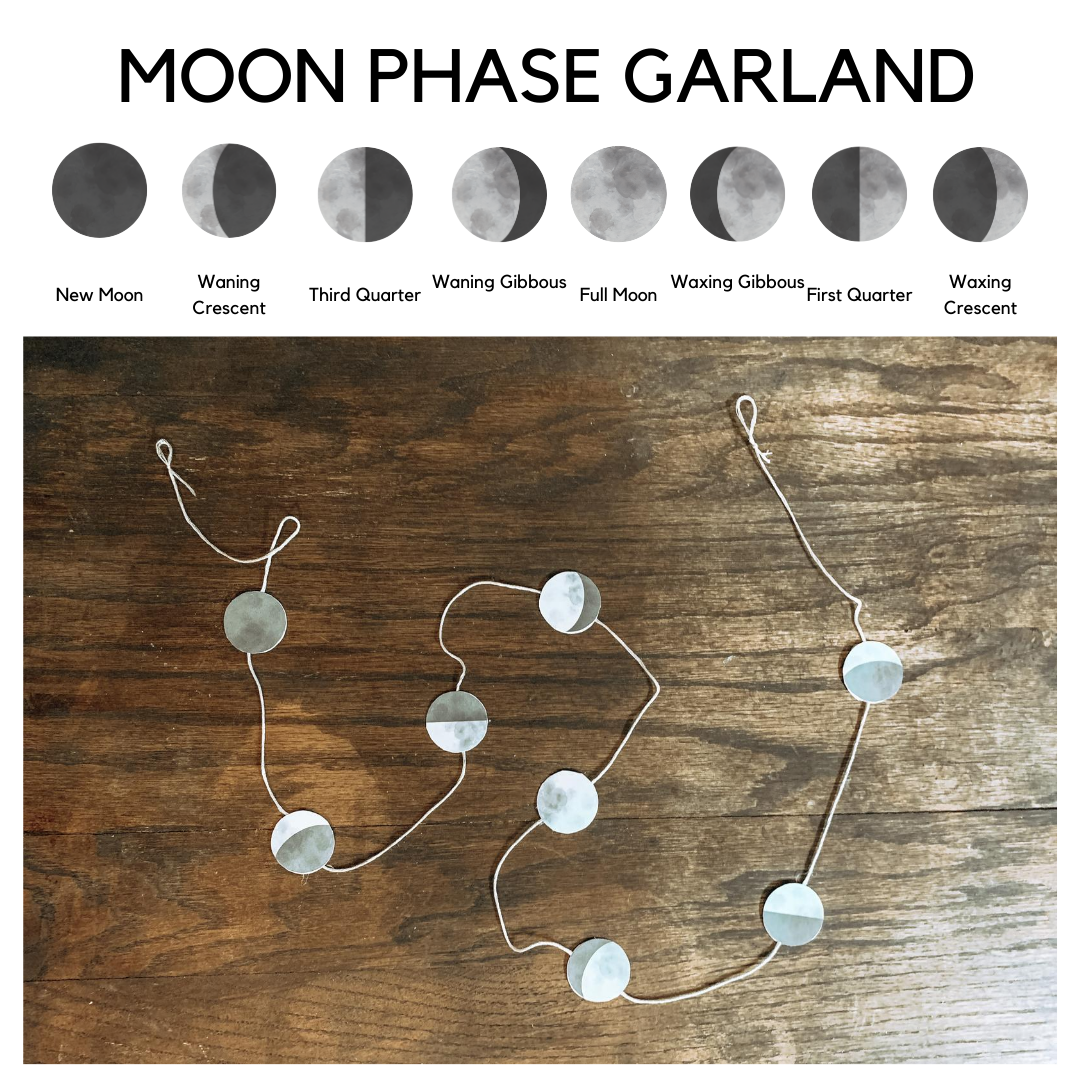
Moon Phase Garland
I love finding new ways to use the materials in my units. Especially, crafty ways.
For this craft we used the Moon Phase Cut-Out Coins to make a sweet mini garland to hang across my daughter’s bulletin board. She loved it and is already working on another one!
For this project you don’t need much:
String
Moon Phase Cut-Out Coins from my The Moon and Phases Unit. (You can also make a larger garland by cutting up my Moon Phases Montessori 3 Part Cards. Just make a copy to keep and one for this project!)
Glue
First, we cut out the moon phase coins and put them in order. You’ll also want to make sure you line up your moons accordingly so if section of the garland flips, it won’t matter.
Next, affix your coins to the string. I’ll be honest, we eye-balled it, but if you’d like to get a ruler and measure that’s great, too. You could use really any craft or school glue you’d like. We’ve even used hot glue, but that’s not something I’ll let my 6YO do by herself. The easiest way we’ve found to do this. It place the coin on a flat surface, add a dot of glue. affix the strings and then make a moon sandwich, placing the matching moon down on top.
Finally, let your garland dry. When It has dried enough to handle you can put two small loops on each end to make it easier for little hands to hang.
I hope you enjoy this simple craft! For more craft ideas, printables, and freebies sign up for my email list below!
Learning about the moon?
Here are some of my Moon Study Favorites from Amazon (affiliate).

